
wsl-Archlinux
效果图预览

安装WSL2
下载发行版
- 进入Release下载发行版到目标文件夹
下载Nerd Font字体
- 前往网址下载中意的字体,并给终端换上即可。
- https://www.nerdfonts.com/
安装arch
- 解压压缩包,双击打开Arch.exe。完成后退出再次打开即可。
配置用户
- 设置root用户密码
1 | passwd |
- 添加用户组
1 | echo "%wheel ALL=(ALL) ALL" > /etc/sudoers.d/wheel |
- 添加用户
1 | useradd -m -G wheel -s /bin/bash {UserName} #{UserName}替换为用户名 |
- 设置用户密码
1 | passwd {UserName} #{UserName}替换为用户名 |
- 设置默认登录用户
- 在目录位置打开终端(存放Arch的目录)
1 | .\Arch.exe config --default-user {UserName} #{UserName}替换为用户名 |
初始化密钥环
- 依次执行
1 | sudo pacman-key --init |
卸载Arch
- 在目录中打开pwsh
1 | .\Arch.exe --clean |
换源
- 编辑/etc/pacman.d/mirrorlist文件,在头部加入以下内容
- 可使用
sudo nano /etc/pacman.d/mirrorlist编辑文件,Ctrl+S,Ctrl+X保存并退出。
1 | 华为镜像站 |
sudo nano /etc/pacman.conf添加archlinuxcn
1 | [archlinuxcn] |
- 更新
1 | sudo pacman -Suyy |
本地化
- 进入文件取消注释
en_US.UTF-8 UTF-8和zh_CN.UTF-8 UTF-8
1 | sudo nano /etc/locale.gen |
- 更新
1 | locale-gen |
- 设置时区
1 | ln -sf /usr/share/zoneinfo/Asia/Shanghai /etc/localtime |
安装yay
1 | sudo pacman -S yay |
一些基本软件安装更新
1 | sudo pacman -S git |
1 | sudo pacman -Syyu base base-devel git zip unzip net-tools tree python wget btop fastfetch --needed --noconfirm |
- 如果后续安装软件包缺少依赖, 可以临时注释掉
/etc/pacman.conf中所有后缀为testing或staging的软件源, 完成后使用sudo pacman -Syyu更新依赖即可.
安装 vs code
1 | sudo pacman -S code |
git clone 加速
1 | git config --global url."https://gitclone.com/".insteadOf https:// |
- 取消更改
1 | git config --global --unset url.https://gitclone.com/.insteadOf |
- 或者进入配置文件删除
1 | sudo nano .gitconfig |
c++环境
- g++安装
1 | sudo pacman -S gcc |
- gdb安装
1 | sudo pacman -S gdb |
- cmake安装
1 | yay -S cmake |
-
然后在vscode下下载对应的扩展即可
- WSL,C/C++,Code Runner
-
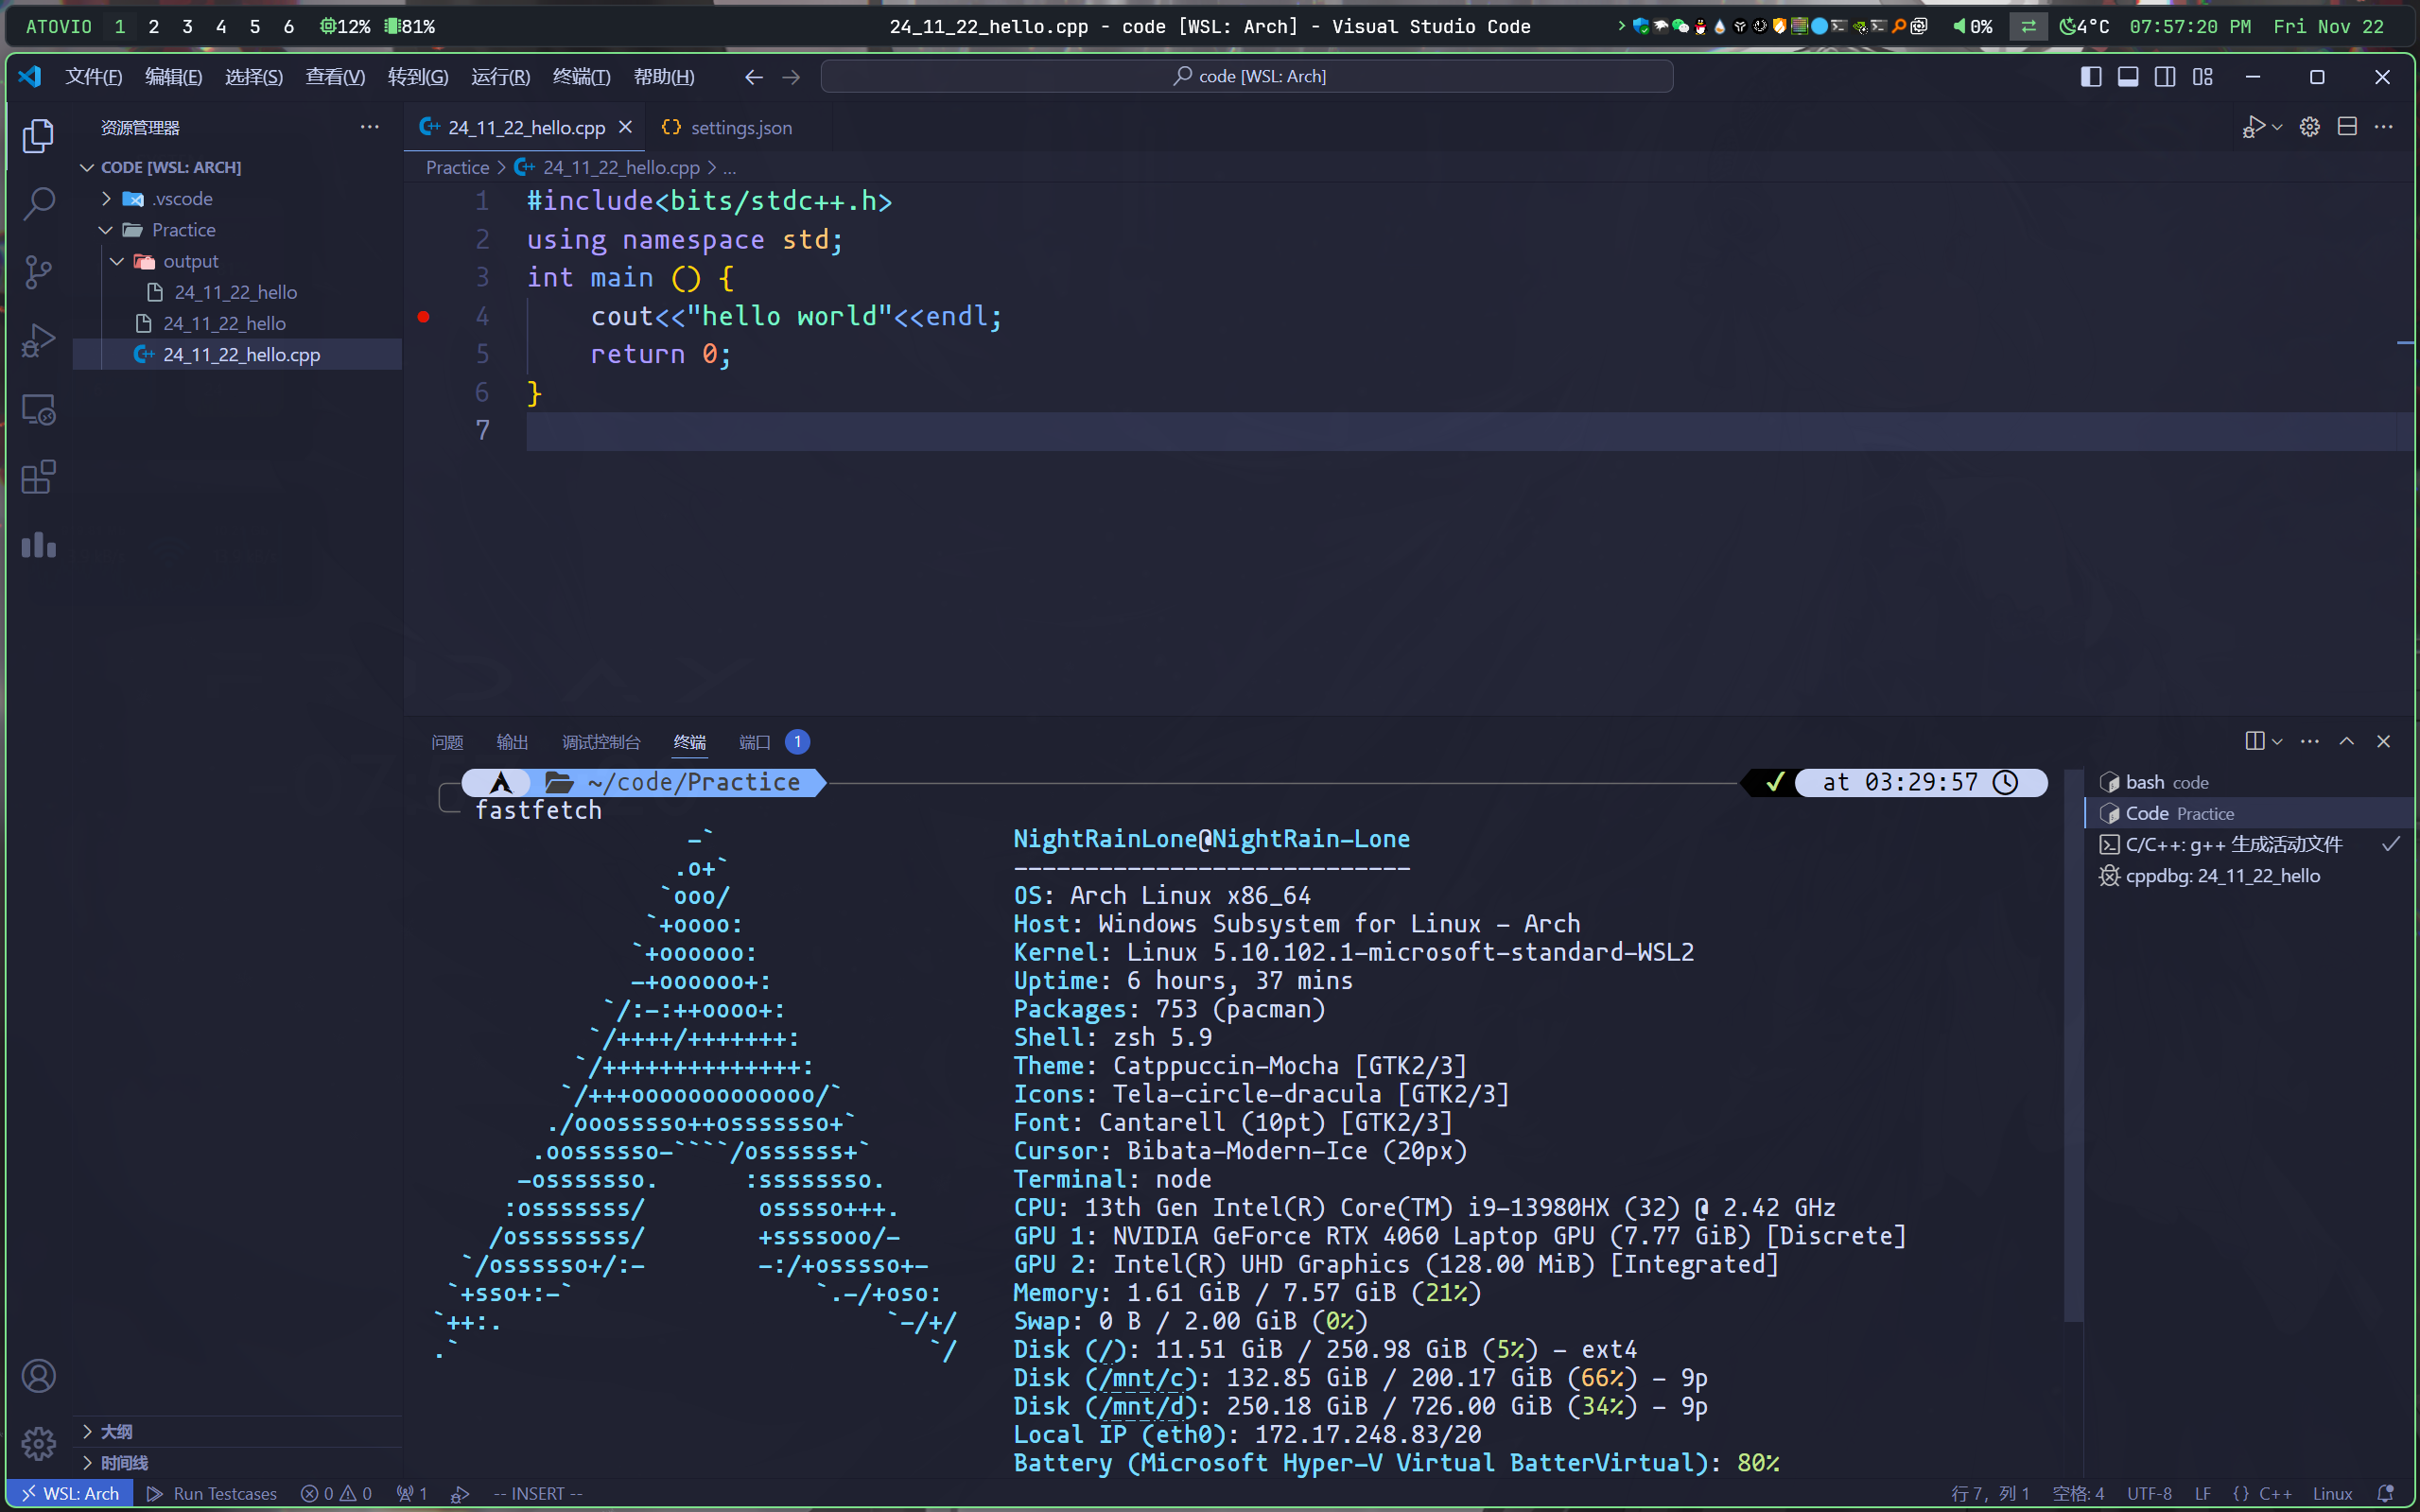
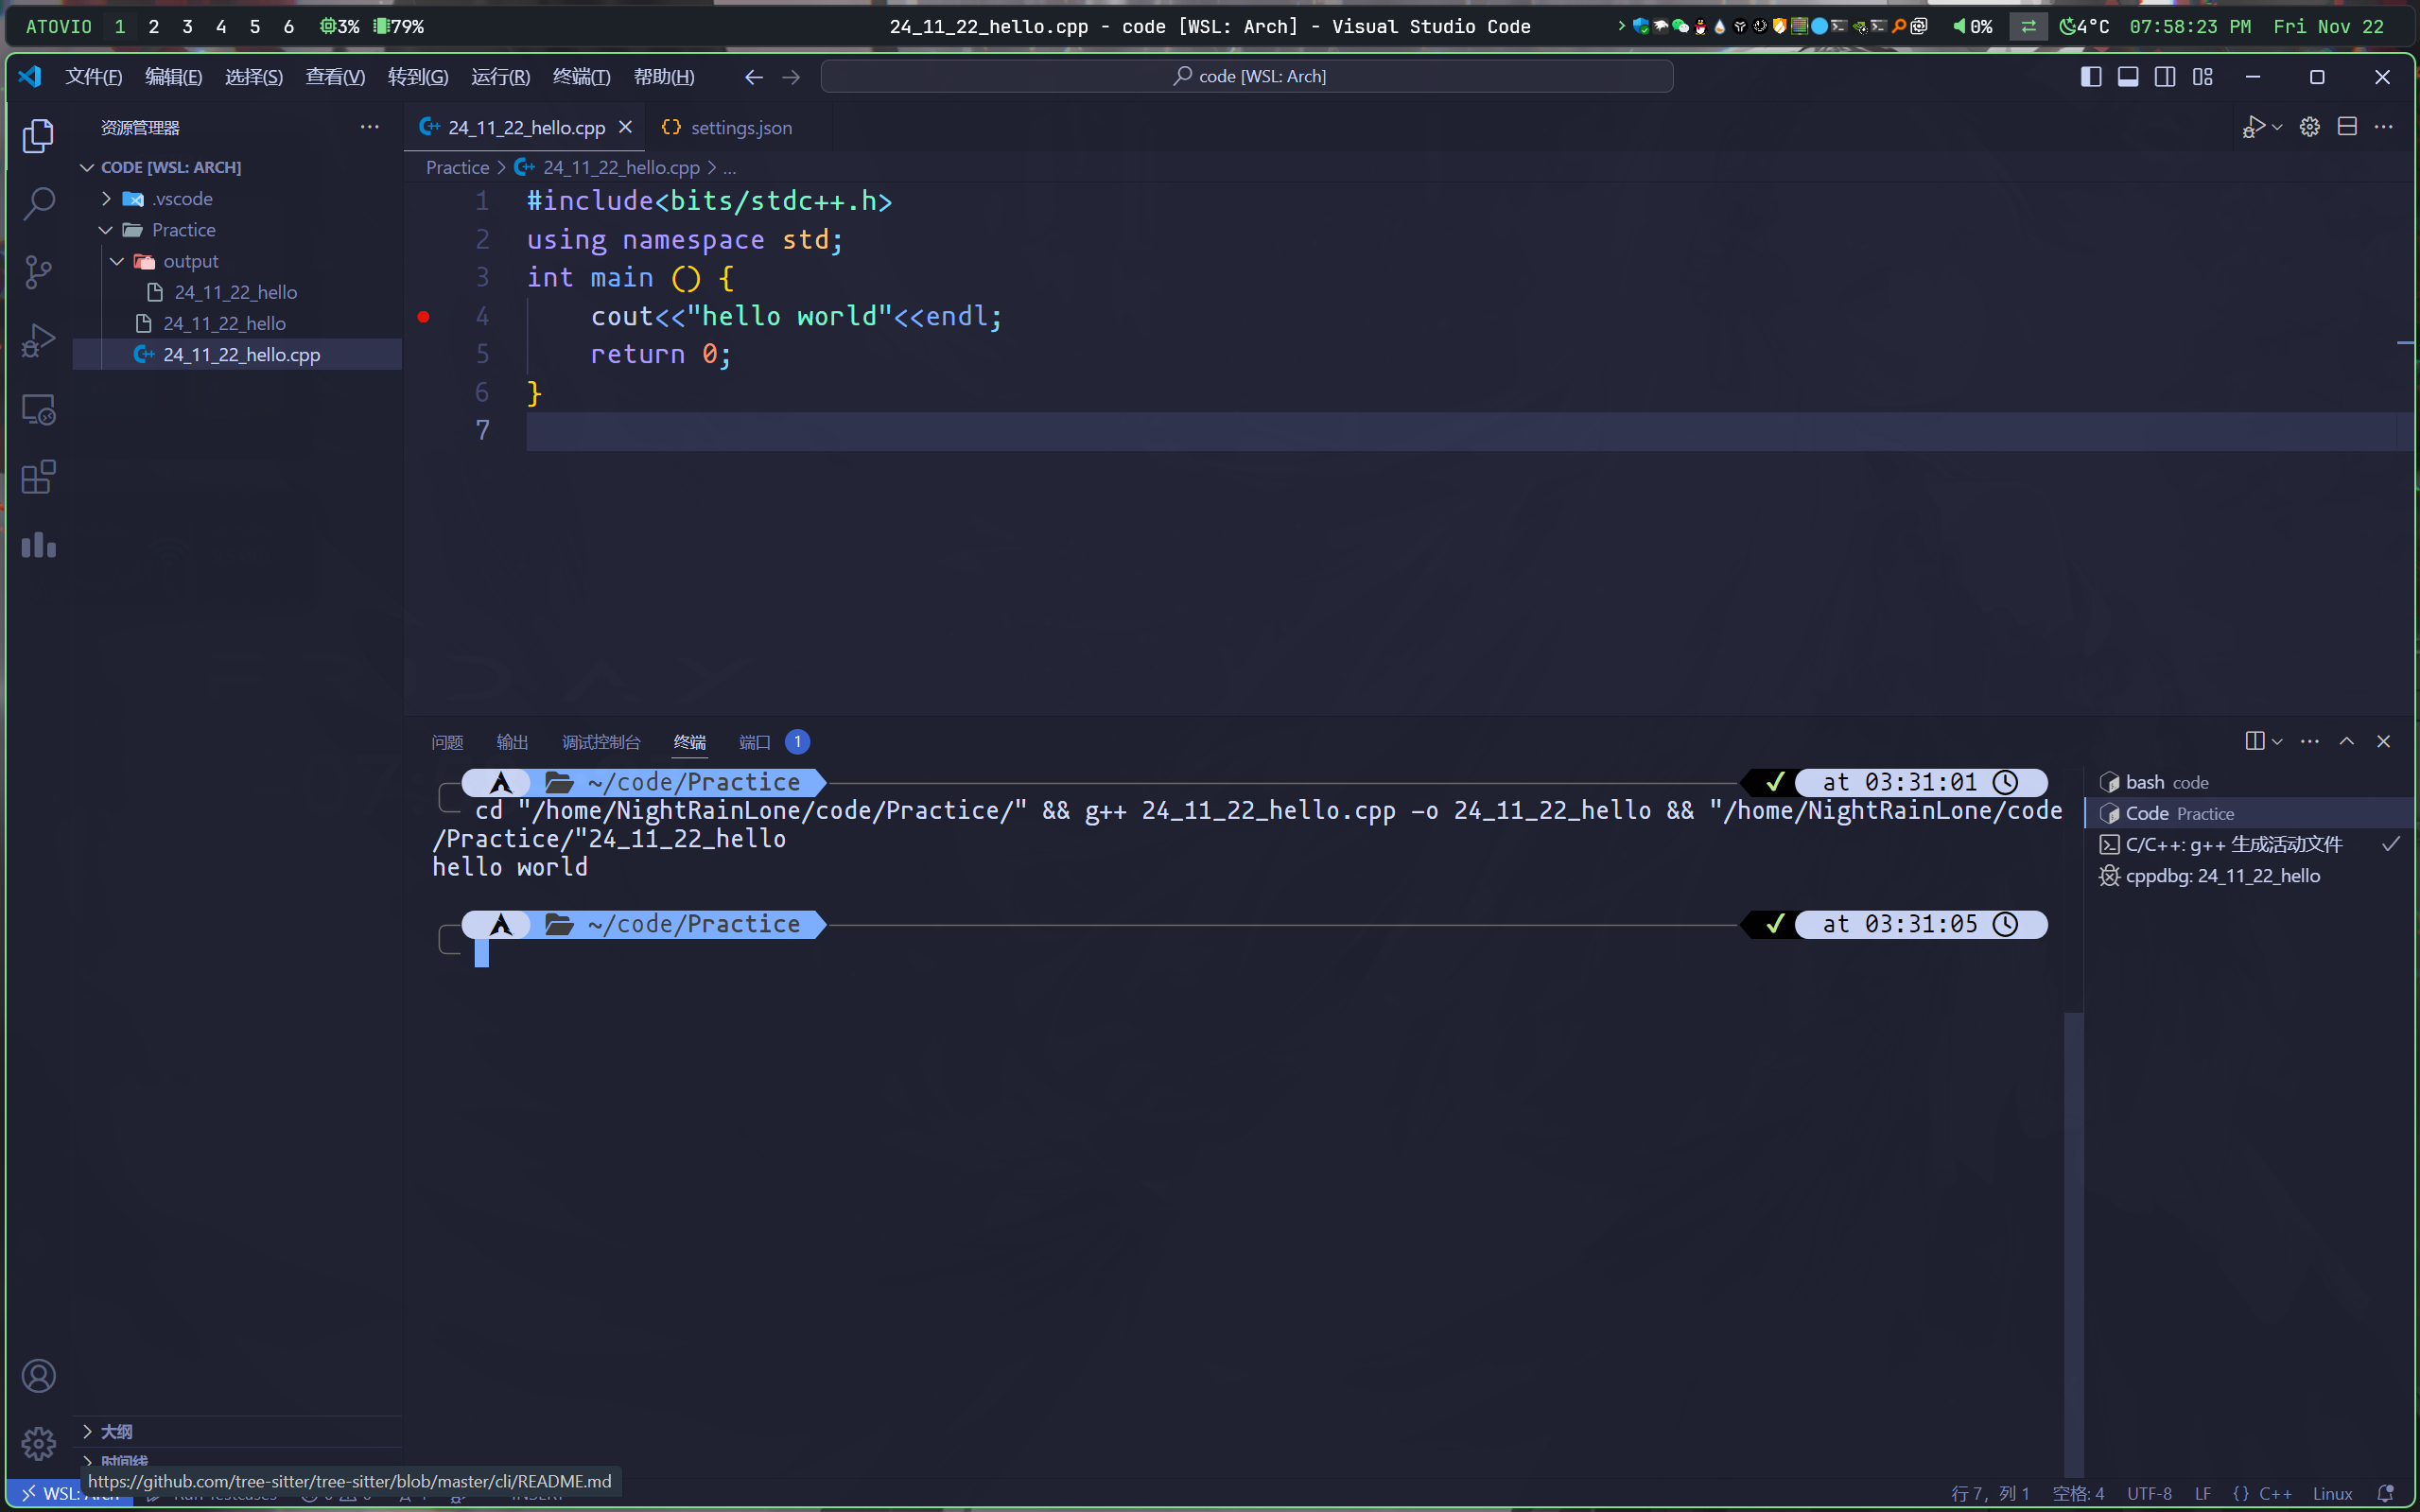
到这里已经可以在windos下的vs code远程连接arch进行开发了。
npm换国内源
- 华为云
1 | npm config set registry https://mirrors.huaweicloud.com/repository/npm/ |
安装文件管理器YAZI
1 | sudo pacman -S yazi ffmpegthumbnailer unarchiver jq poppler fd ripgrep fzf zoxide |
更换yazi主题
- 进入官方页面选择主题,按文档安装即可
安装lsd(替代ls的包)
1 | sudo pacman -S lsd |
- 用法
- lsd
- lsd -a
- lsd -l
- lsd --tree
终端美化oh-my-zsh
- 安装oh-my-zsh
1 | git clone --depth=1 https://github.com/ohmyzsh/ohmyzsh.git ~/.oh-my-zsh |
- 设置主题(powerlevel10k)
- 安装主题
1 | git clone --depth=1 https://github.com/romkatv/powerlevel10k.git ${ZSH_CUSTOM:-$HOME/.oh-my-zsh/custom}/themes/powerlevel10k |
- 设置主题
1 | sudo nano ~/.zshrc |
- 更改默认终端
1 | sudo chsh -s /bin/zsh #root用户终端 |
- 配置p10k
1 | source ~/.zshrc # 启动配置 |
- 然后根据向导配置即可
配置nvim
- 安装nvim
1 | sudo pacman -S neovim |
- 配置Astrovim
- 清理原有配置
1 | mv ~/.local/share/nvim ~/.local/share/nvim.bak |
- 克隆仓库,打开更新
1 | git clone --depth 1 https://github.com/AstroNvim/template ~/.config/nvim |